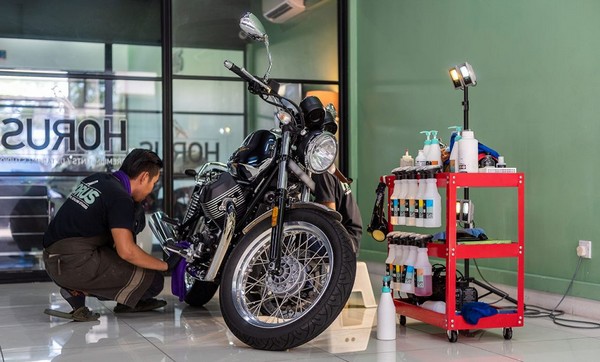
Pre-Ride Electric Bike Inspection
Even the most experienced cyclists need a period of adjustment as they transition to electric bikes for the first time. Not only does the electric motor change your acceleration curve, there are also new steps to take to ensure your bike is ready to hit the road. It’s a good idea to run through this inspection checklist each time you leave home, especially if it’s been a few days since the last time you took a long ride. Most of the steps are similar to what you’d do for a regular bicycle, but there are a few new twists where the motor is concerned.

Step 1: Follow the ABCs
The first thing to look at when you’re assessing the condition of any bike are the basics.
- Air pressure in the tires, as well as the condition of each tire and the condition of the rims
- Brake cables and pads
- Chain and gearing
If you have aftermarket upgrades like refillable air shocks, make sure you also assess their condition and refill them if needed. Checking out the tires and brakes on an electric bicycle is pretty much the same exercise as doing it on a traditional bike, but chain inspections are a little different because the chain also engages with the motor, so you need to check the chain’s condition, level of lubrication, and cleanliness as usual, but you also need to make sure it’s engaging with the motor’s gear assembly correctly. You might need to tighten it occasionally.
Step 2: Motor and Battery
Check the battery level indicator to see if you have enough charge for the ride. If not, you may want to bring your charger so you can charge the bike for the return trip when you get to your destination. It’s also a good idea to check that the motor engages correctly. A short trip up and down the street or around a parking lot will let you build up the speed to engage the motor as a test.
Read Also: Fit Tire Electric Bike Showing You New Way To Stay Fit
You can also elevate the bike frame so the wheels are off the ground and then manipulate the pedals to make the motor engage briefly.
Realistically, if your chain looks good and your battery looks good, you usually don’t need to test the motor. It’s an optional step, but it’s one worth covering for when your electric bicycle has been sitting for a long time, as a precaution.
Step 3: Check Your Seat and Handlebars
This step is especially important if you share a bicycle with another rider. It’s also frequently necessary no matter how well suited your bike frame is to your body. Even the best e bike for short person will need adjusting to suit the exact handlebar pitch and distance to best fit a petite rider, and the same is true of the seat. Even if you don’t share a ride, you will want to periodically check these features. Seat height and other adjustments can slip as you ride, especially if you’re going out on the trail where there are a lot of bumps and shocks. The best ebike for tall riders will let you set the seat up where you need it, but you’ll still need to make sure it stays there if you ride hard.
