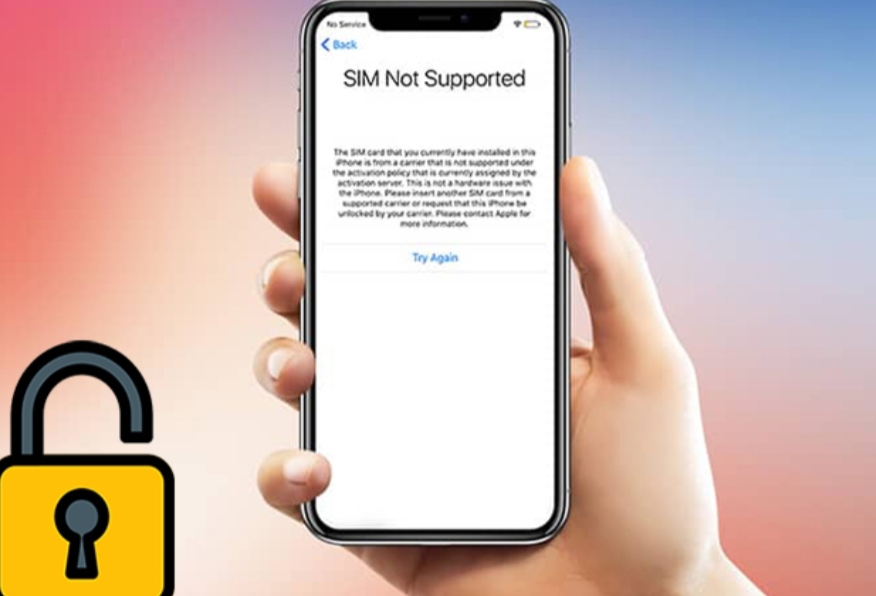
In the ever-evolving world of smartphones, the iPhone remains one of the most coveted devices. Over the years, Apple has continued to enhance its security features, including unlocking procedures.
However, there might come a time when you need to check your iPhone’s unlocking records, whether for personal reference or to ensure its security. In this comprehensive guide, we’ll walk you through the step-by-step process of how to check iphone unlock history
So, grab your iPhone and let’s unlock the secrets of its past!
Why Check iPhone Unlocking Records?
Before we dive into the how-to, let’s briefly discuss why you might want to check your iPhone unlocking records.
- Security Verification: Keeping track of your unlocking history helps ensure that no unauthorized access has occurred. This is crucial for safeguarding your data and privacy.
- Warranty and Service: Knowing your iPhone’s unlocking history can be beneficial if you’ve ever had your iPhone repaired or serviced. It can help verify whether any changes were made during service that may impact your warranty.
- Selling or Trading: If you plan to sell or trade-in your iPhone, potential buyers or trade-in services may request this information to assess the device’s history and value.
- Personal Record: Some users like to record when and where their iPhone was unlocked for personal reference.
Now that we understand the importance let’s move on to the practical steps.
Step 1: Back Up Your iPhone
Before making any changes or accessing sensitive information, it’s always a good idea to back up your iPhone. This ensures that your data is safe if anything goes awry during the process.
Step 2: Access iCloud Settings
- Open Settings: open the “Settings” app on your iPhone.
- Tap on your Apple ID: Scroll down and simply tap on your name or your Apple ID at the top of the Settings menu.
- Go to iCloud: You’ll see various options in the Apple ID menu. Tap on “iCloud.”
Step 3: Find iPhone Analytics Data
- Scroll Down: In the iCloud menu, scroll until you find “Analytics Data.” Tap on it.
- Look for Log-aggregated: Within the Analytics Data, look for an entry named “Log-aggregated.” Tap on it.
Step 4: Locate ‘Lockdownd’ Logs
- Scroll Down Again: In the Log-aggregated menu, you’ll find a list of logs. Scroll down until you see “lockdown.”
- Tap on ‘lockdownd’: Tap on “lockdownd” to access the log information.
Step 5: Understanding the Log
- Here, you’ll find a list of logs detailing various activities related to your iPhone, including unlocking events. Each log entry will have a date and time stamp.
Step 6: Interpretation and Record-Keeping
- To make sense of the log entries, consider the following tips:
- Look for ‘unlock’: Use the search function (usually found at the top of the log) to search for “unlock.” This will help you filter out relevant entries.
- Note Dates and Times: Record the dates and times of unlocking events for your reference.
- Location Data: Some logs may include location information, which can be helpful if you want to track where your iPhone was unlocked.
Step 7: Document Your Findings
- It’s a good practice to record the unlocking events you’ve found. You can use a digital or physical notebook to note dates, times, and other relevant information.
Can I unlock my iPhone without Apple ID?
Unlocking an iPhone without the Apple ID associated with it can be a challenging and legally complex task. Typically, the Apple ID and password are required to unlock an iPhone, as they are used to verify the ownership of the device. Unlocking an iPhone without the proper credentials may be considered unauthorized and illegal in many jurisdictions.
Here are a few scenarios where unlocking an iPhone without the Apple ID can be necessary, but they often require specific conditions or involve contacting Apple or your mobile carrier:
Forgot Apple ID Password: If you’ve forgotten your Apple ID password, you can go through Apple’s account recovery process to reset it. You’ll need to provide information to prove your identity and ownership of the account.
- Purchased a Secondhand iPhone: If you’ve bought a used iPhone and it’s still linked to the previous owner’s Apple ID, you should contact the seller to have them remove their Apple ID from the device. Apple provides steps for this process.
- Apple’s Assistance: In some cases, if you can prove ownership of the iPhone and provide the necessary documentation, Apple may assist with unlocking the device. This typically involves contacting Apple Support directly.
- Contacting Your Mobile Carrier: If your iPhone is carrier-locked, you may need your mobile carrier to unlock it. This process is separate from unlocking it from an Apple ID.
It’s important to note that attempting to unlock an iPhone through unauthorized means, such as using third-party software or services, may damage the device, void warranties, or violate laws. Always ensure your actions are within the boundaries of applicable laws and Apple’s terms and conditions.
Suppose you are having difficulties with your Apple ID or unlocking your iPhone. In that case, it’s advisable to reach out to Apple Support or your mobile carrier for guidance and assistance by their policies and procedures.
Conclusion
Checking your iPhone unlocking records can provide valuable insights into your device’s usage history. Whether for security, warranty verification, or personal interest, understanding how to access this information can benefit any iPhone user. Remember, this guide is accurate as of September 2021, and it’s essential to stay updated with any changes or updates made by Apple in subsequent iOS versions. So, take control of your iPhone’s history and ensure it remains secure and reliable for years.
